Host Infisical as Secrets Manager
Why a secret manager?
A secret manager is a tool that allows you to store and manage secrets.
Secrets are sensitive information that you don’t want to store in plain text in your code.
For example, you might want to store your database credentials or your API keys.
The common approach is to store secrets in a .env file.
However, when deploying with Docker, this introduces a potential issue:
secrets can appear in container logs under certain conditions
While this only poses a risk if someone gains access to those logs, minimizing such exposure is essential for security.
What is Infisical?
![]()
Infisical is an open-source secrets management platform that allows you to securely store, manage, and access sensitive information such as API keys, passwords, and certificates.
It provides a centralized solution for managing secrets across different environments and applications.
In Infisical you can create projects, invite team members to it and within those projects you can create environments (e.g., development, staging, production) to organize your secrets.
Set up Infisical
In general there are two ways to use Infisical:
- Use Infisical as a service - Paid
- Host Infisical yourself - Free
We will cover the second option in this tutorial.
In my opinion, the best way is to host infisical via Docker Compose . The Infisical documentation provides everything you need to get started like the Docker Compose file and the .env file.
Download the Docker Compose file
curl -o docker-compose.prod.yml https://raw.githubusercontent.com/Infisical/infisical/main/docker-compose.prod.ymlDownload the .env file
curl -o .env https://raw.githubusercontent.com/Infisical/infisical/main/.env.exampleChange secrets in .env
The provided ENCRYPTION_KEY and AUTH_SECRET are for testing purposes only so
make sure to change the ENCRYPTION_KEY and AUTH_SECRET in the .env file.
- On
Windowswhen Docker is installed, you can look up for WSL and use the WSL terminal. - On
Linuxyou can use the terminal of your choice.
To regenerate the ENCRYPTION_KEY and AUTH_SECRET you can use the following commands:
# Generate a new 16 byte hex string long ENCRYPTION_KEY
openssl rand -hex 16# Generate a new 32 byte base64 string AUTH_SECRET
openssl rand -base64 32Copy the generated values and paste them into the .env file.
# Keys
# Required key for platform encryption/decryption ops
# THIS IS A SAMPLE ENCRYPTION KEY AND SHOULD NEVER BE USED FOR PRODUCTION
ENCRYPTION_KEY=<paste generated ENCRYPTION_KEY here>

# JWT
# Required secrets to sign JWT tokens
# THIS IS A SAMPLE AUTH_SECRET KEY AND SHOULD NEVER BE USED FOR PRODUCTION
AUTH_SECRET=<paste generated AUTH_SECRET here>
...Also change your Postgres database credentials or site url in the .env file.
Also if you want to use the mail service you can add a new mail account
for your Infisical instance and enter those credentials in the .env file:
...
# Mail/SMTP
SMTP_HOST=<your-server-address>
SMTP_PORT=<smtp-port>
SMTP_FROM_ADDRESS=<your-mail-accounts-address>
SMTP_FROM_NAME=<your-sender-name>
SMTP_USERNAME=<your-mail-account-address>
SMTP_PASSWORD=<your-mail-account-password>
...
Start your Infisical instance
That’s it so far. Now you can start your Infisical instance by starting the Docker Compose file:
docker compose --env-file .env up -dIf everything worked you can access Infisical by default via http://localhost:8080.
First login
When accessing Infisical for the first time you will be asked to create a new admin user.
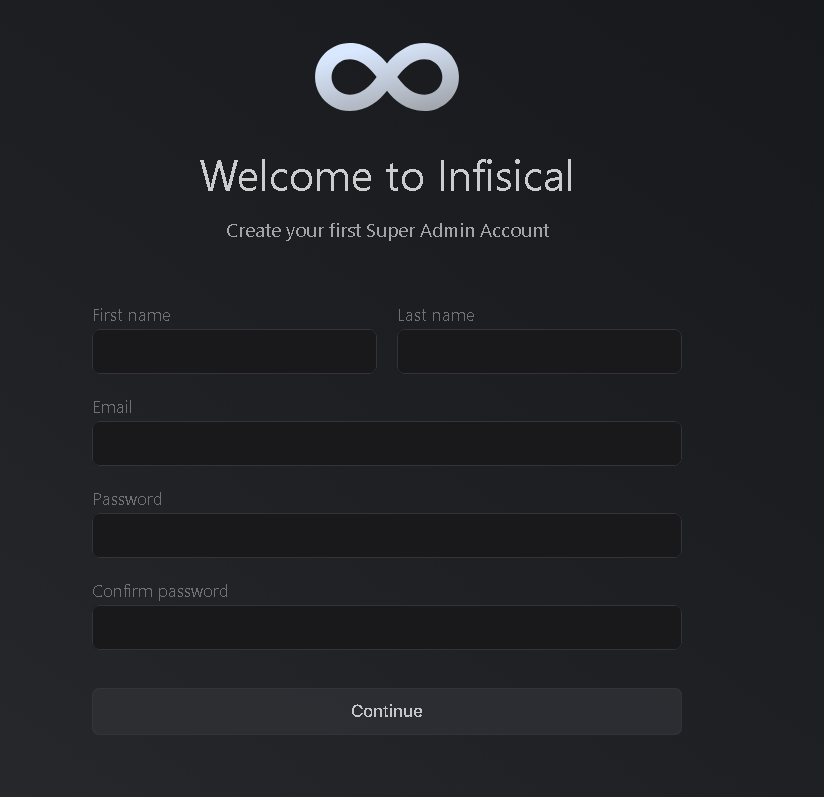
Click Continue and you will be redirected to the general settings.
General settings
Here you can choose if users can signup for your Infisical instance or select a default Organization.
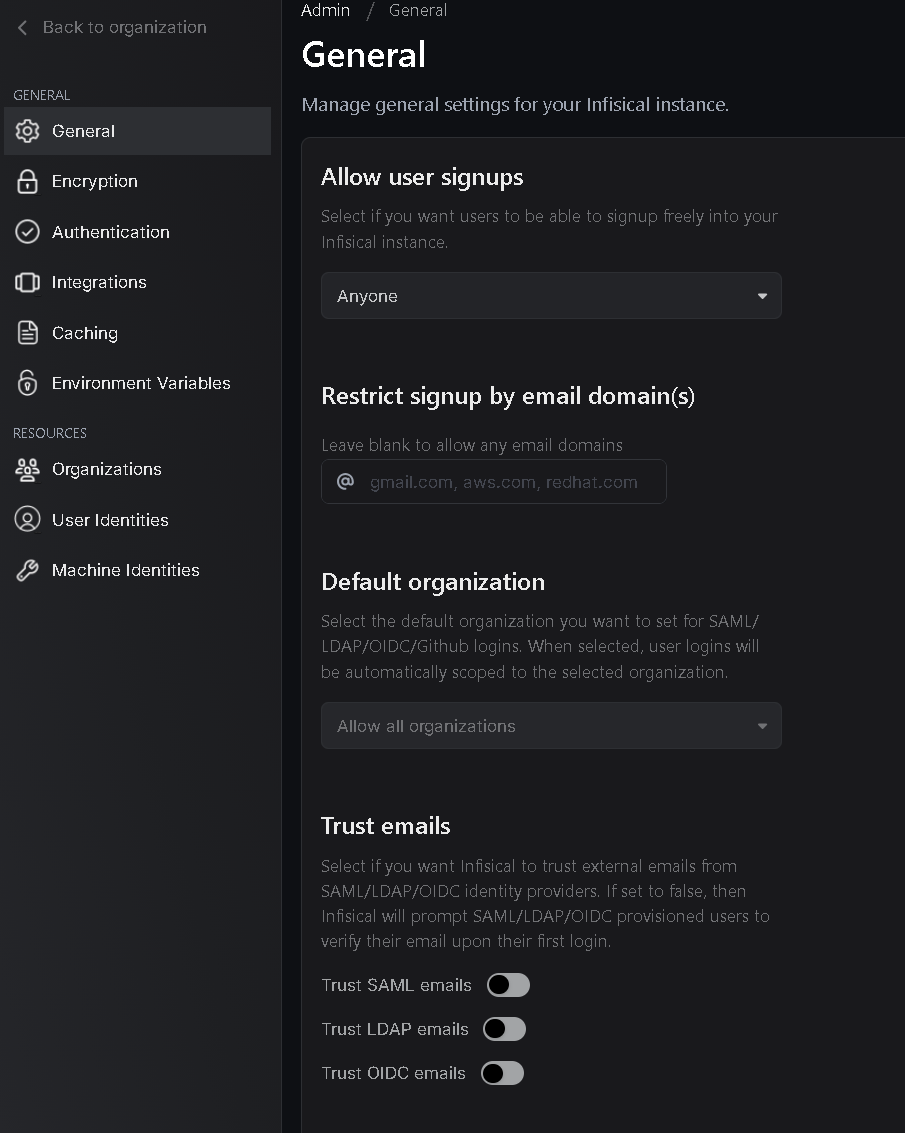
The organization can be described as a company or a team. In this org you can create projects and invite team members.
I haven’t found a way to create another organization normally via the UI, but there is a workaround .
Enter the link here:
https://your-domain.com/organization/noneand you will be asked to create a new organization, which you can navigate to in the dropdown menu at the top left.
Create a project
In the left sidebar, click on Projects and then Add New Project. There you can provide a name and description and specify the project type.

Adding secrets
To add secrets to your project, click on Secrets in the left sidebar and then Add New Secret.

Infisical provides 3 environments by default: Development, Staging and Production.
This is pretty cool because you can easily switch between them and store different secrets for each environment.
We will come back to how we can effectively integrate these into our project later on.

Connect your local project to your Infisical project
The last step is to get your infisical secrets into your local project .
In case your using the docker deployment script method follow the steps 1-8
Install the Infisical client on your machine
To connect to your Infisical instance you need the Infisical-CLI.
Download the client via npm:
npm install -g @infisical/cliAuthenticate with Infisical
Log in with your CLI:
infisical loginNow follow the instructions on the screen. Choose your self-hosted option and enter your Infisical instance URL.

Enter your Infisical instance URL and don’t forget the https:// or http:// prefix, so your login request opens in the correct browser tab.
Follow the instructions in your terminal and browser. If everything worked you should see the following message:

Link your Infisical project to your local project
Open a terminal in your project’s root directory and run the following command:
infisical initWhen everything worked you should see the the following file in your project’s root directory .infisical.json.
This file stores your workspace id and you can configure your default environment.
Setup Machine Identity for Production
When running Infisical on a server (e.g., via a deployment script), you cannot use a personal infisical login. Instead, you use a Machine Identity. This is a non-human account that authenticates via a Client ID and a Client Secret.
Create the Identity
- Log into your Infisical Web-UI.
- Go to Access Control > Machine Identities.
- Click Create Identity, name it (e.g.,
webserver-identity), and save the Client ID. - Inside the identity settings, create a Client Secret and copy it immediately (it will only be shown once).
Assign Permissions
- Navigate to your Project > Project Settings > Members.
- Click Add Member, switch to the Machine Identities tab, and select your new identity.
- Assign a role (e.g.,
Read Only) and ensure it has access to theProductionenvironment.
Store Credentials on Server
To allow the Infisical CLI to authenticate automatically, store the credentials in your server’s environment. The best way is adding them to your root user’s .bashrc.
# Open bashrc
nano ~/.bashrc

# Add these lines at the end
export INFISICAL_CLIENT_ID="your-client-id"
export INFISICAL_CLIENT_SECRET="your-client-secret"

# Reload bashrc
source ~/.bashrc
Now, any command like infisical export will work without manual login.
Automate Deployment with Shell Script
To automate the deployment process with infisical secrets you can use the deploy.sh script from the docker deployment guide and adjust it to use the infisical export command to fetch the secrets before running the docker compose file.
To use this, simply add the project id and infisical domain to the command end:
Usage: ./deploy.sh <path-to-dockerfile> <container-name> <port> [infisical-project-id] [infisical-domain] [manual-env-file]
# Example usage
sudo infisical run --env=prod -- ./deploy.sh Dockerfile.mywebsite mywebsite 3000 0dbb9e2c-aezya-1235 https://infisical.mydomain.com
Inject Infisical secrets into your local project
To inject the secrets into your local project you start your project with the infisical run command.
infisical run -- <your-start-command>To specify the environment you want to use you can use the --env flag.
Now your project starts with the secrets from the specified environment in Infisical.
infisical run --env=dev -- <environment-name> <your-start-command>`For example, if you start your project with npm start you would run:
infisical run --env=staging -- npm startOr a project with a docker-compose.yml file would run:
infisical run --env=prod -- docker-compose up -dNow if everything worked you should be able to access your project with the secrets from Infisical and your terminal should look like this:

This is just the process for local development.
Infisical provides a good documentation on how to use the CLI in production
Use injected secrets in your local project
Now you can use the injected secrets in your local project like you would with a .env file.
For example, if you want to access the database credentials you can use the following code in your docker compose file:
version: "3.9"
services:
  db:
    container_name: infisical-db
    image: postgres:14-alpine
    restart: always
    environment:
      POSTGRES_USER: ${POSTGRES_USER}
      POSTGRES_PASSWORD: ${POSTGRES_PASSWORD}
      POSTGRES_DB: ${POSTGRES_DB}

  volumes:
    - pg_data:/var/lib/postgresql/data

  networks:
    - infisical

  healthcheck:
    test: "pg_isready --username=${POSTGRES_USER} && psql --username=${POSTGRES_USER} --list"
    interval: 5s
    timeout: 10s
    retries: 10
...
Here, ${POSTGRES_USER}, ${POSTGRES_PASSWORD}, etc., are fetched from Infisical automatically when you run via infisical run.
Just make sure to use the same variable names as in Infisical.
Conclusion
Now you have a fully functional Infisical instance and you can use it to securely store and manage secrets easily in your projects.
There’s no need to use a .env file anymore and it’s much more easier to handle your environment secrets and switch between them.
Created: 20.10.2025
Last Updated: 12.03.2026